001_eip : Edit-In-Place Feature
Minimum Required Version: Expert 4.10.39.R
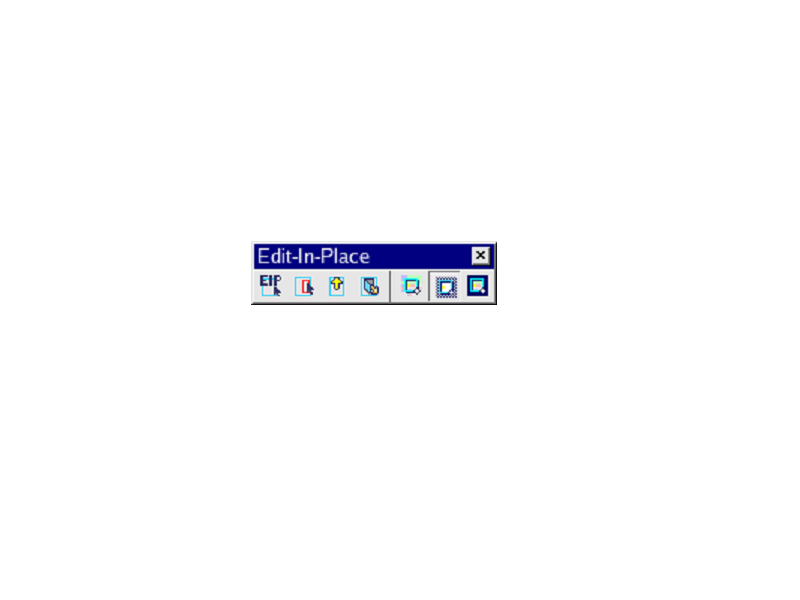
Edit-In-Place allows you to select a cell instance at any level of hierarchy for editing, while working in the immediate surroundings of this instance in the chip. All functions of the Edit-In-Place can be accessed from Hierarchy->Edit-In-Place menu or through the Edit-In-Place toolbar. The Edit-In-Place toolbar is displayed from View->Toolbars->Edit-In-Place menu. It can also be displayed by clicking the EIP button on the Command toolbar (see edit_in_place_toolbar.png ).
In the Edit-In-Place mode, the layout can be edited using the following two methods: "Enter into Subcell" and "Direct Pick of Object in Hierarchy".
1.0. Enter into Subcell
This method allows you to enter into a cell instance by one hierarchy and select a cell instance you want to edit in place. You can then modify the cell.
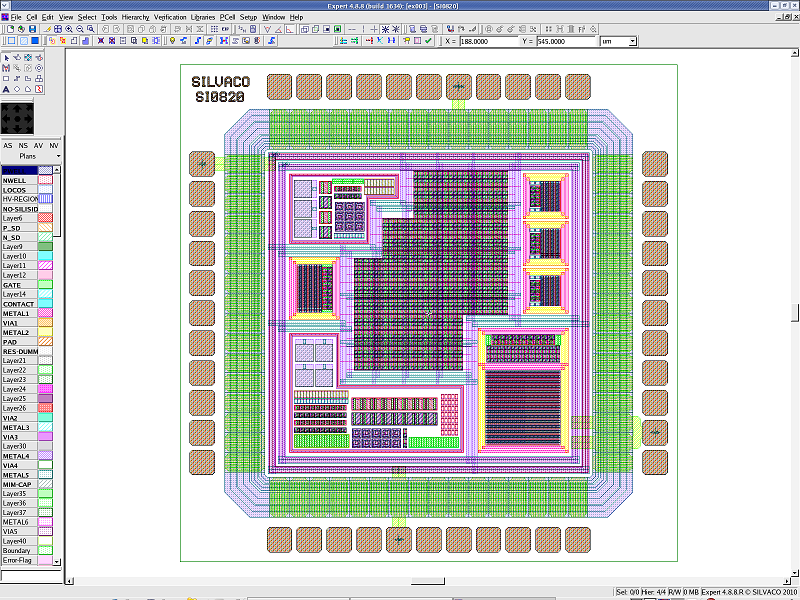
Load editing_ex01.eld file, and open the "SI0820" cell (see si0820_cell.png ).
Click the Hierarchy->Edit-In-Place->Enter into Subcell , or the first EIP button in the Edit-In-Place toolbar (see edit_in_place_toolbar.png ). The cursor is changed to the EIP shape, and now you can enter into any cell instance.
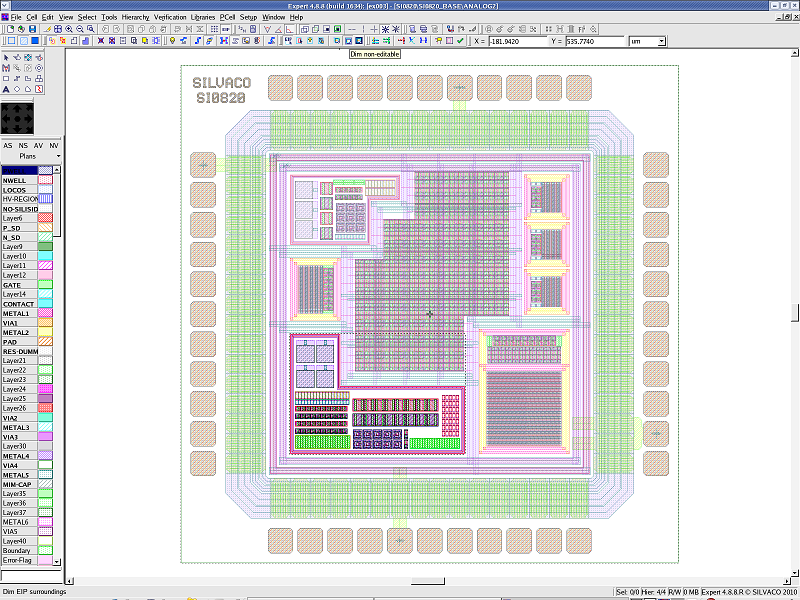
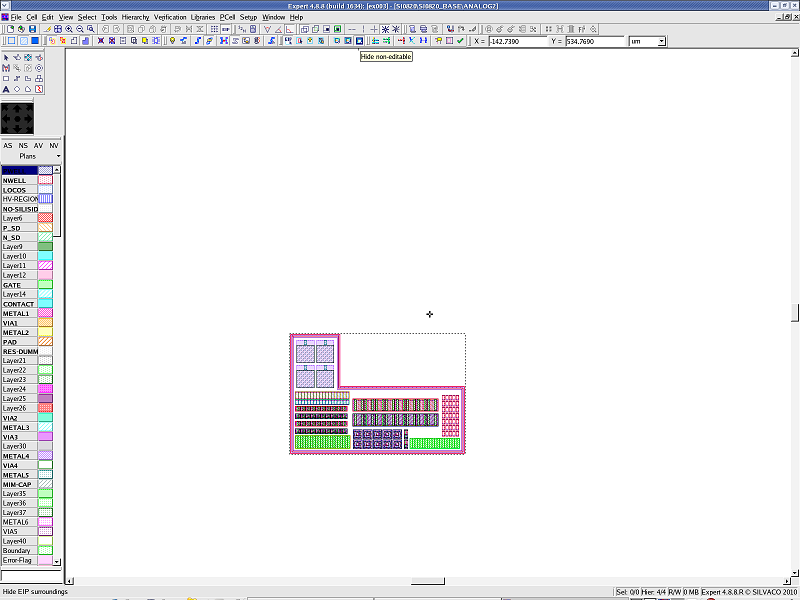
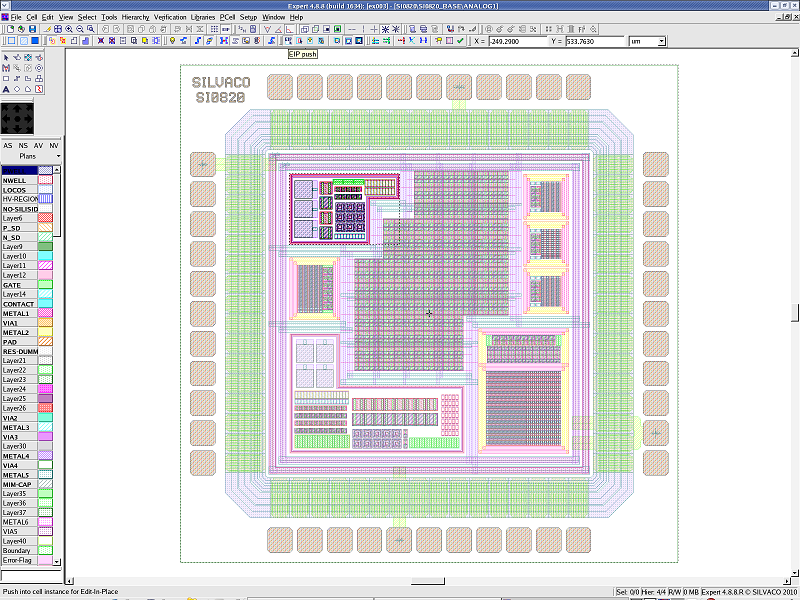
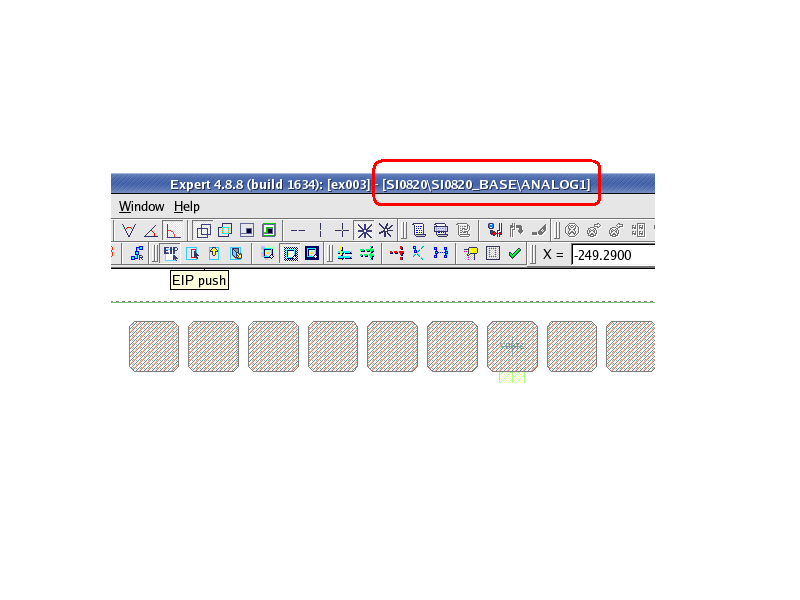
Click the "SI0820_BASE" cell instance, and then click the "ANALOG1" cell instance again. You have entered into the "ANALOG1" cell under the hierarchy level of two. The surrounding of the "ANALOG1" cell instance is dimmed (see enter_into_subcell.png ). To check the current hierarchy, see the currently edited cell name displayed in the title bar on top of the Expert window (see title_bar.png ).
To go one level up the hierarchy, use the Up command, which is the third button in the Edit-In-Place toolbar (see edit_in_place_toolbar.png ). To exit from the EIP mode, use the Exit command, which is the fourth button in the Edit-In-Place toolbar.
1.1. Direct Pick of Object in Hierarchy
This method allows you to pick a primitive object anywhere in the hierarchy and enter into the cell instance containing the object. You can then modify the cell.
Load editing_ex01.eld file, and open the "SI0820" cell (see si0820_cell.png ).
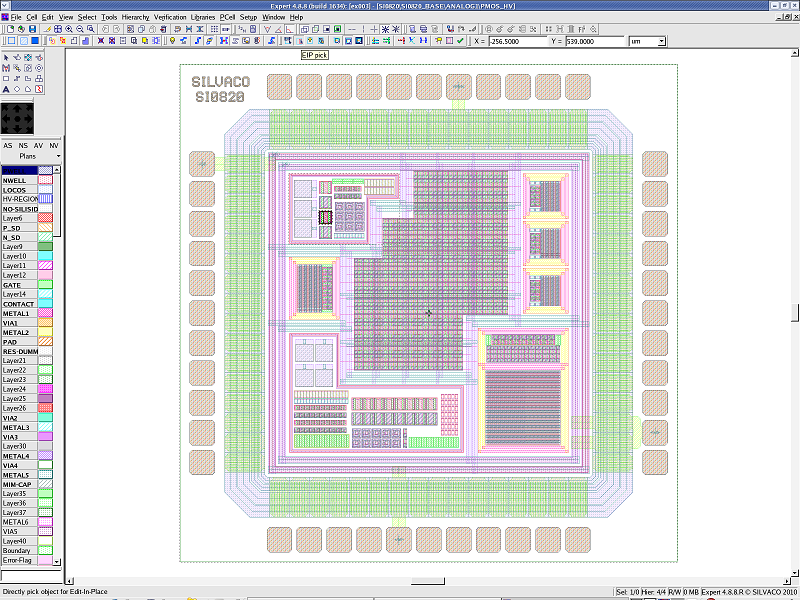
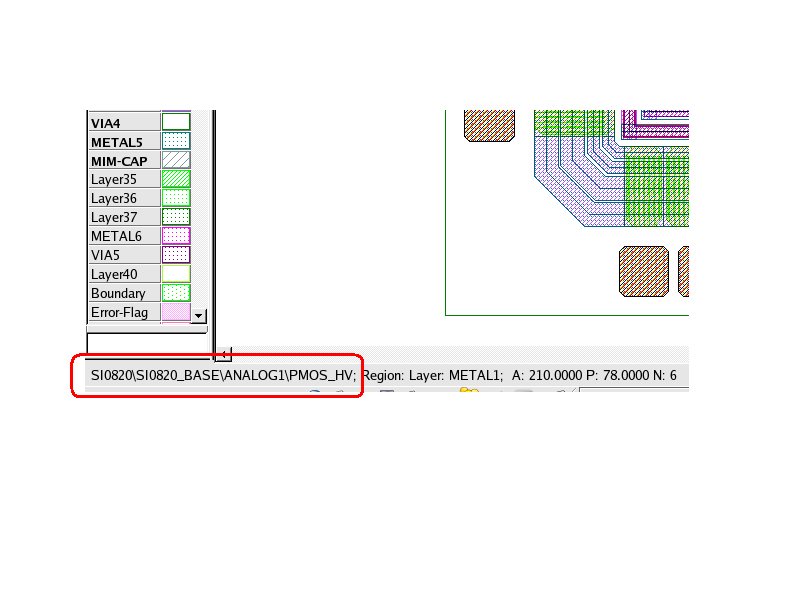
Click the Hierarchy->Edit-In-Place->Direct Pick , or the second EIP button in the Edit-In-Place toolbar (see edit_in_place_toolbar.png ). The cursor is changed to the EIP shape, and now you can choose any primitive objects. If you move the cursor over a primitive object, the cell name for the picked object is displayed in the status bar at the bottom of the Expert window (see status_bar.png ).
By clicking X=-200, Y=250, you will enter the "PMOS_HV" cell under the hierarchy level of three (see direct_pick.png ).
To go one level up in the hierarchy, use the Up command, which is the third button in the Edit-In-Place toolbar (see edit_in_place_toolbar.png ). To exit from EIP mode, use the Exit command, which is the fourth button in the Edit-In-Place toolbar.
1.2. End Of Editing Dialog
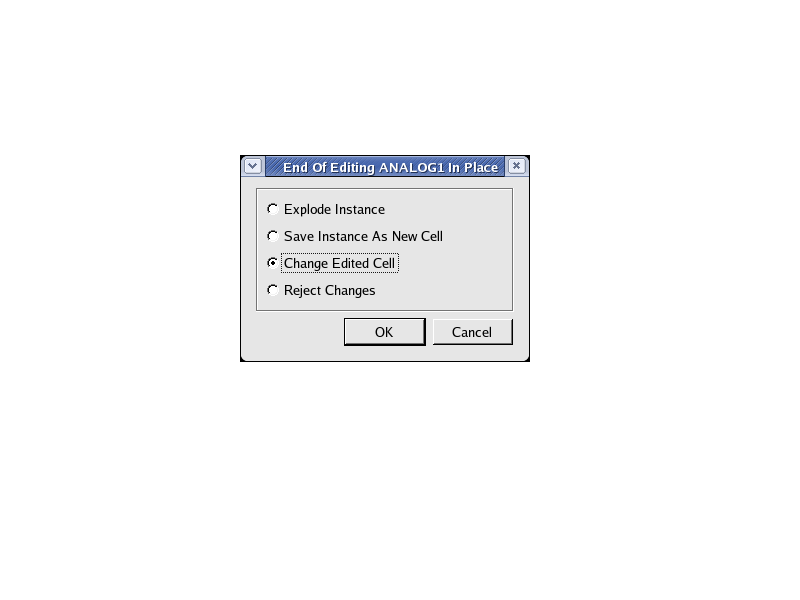
When the Up or Exit command is executed after the cell is modified in EIP mode, the End Of Editing dialog box is displayed. The save method can be chosen from the options shown in end_of_editing_dialog.png . Please refer to Chapter 10.3.5 of the Expert Layout Editor User's Manual for additional details.
1.3. EIP Highlighting
The following options allow you to control how the design surrounding the cell instance entered with EIP is displayed. It can be set from Hierarchy->Edit-In-Place menu, or through the Edit-In-Place toolbar:
- Equalize
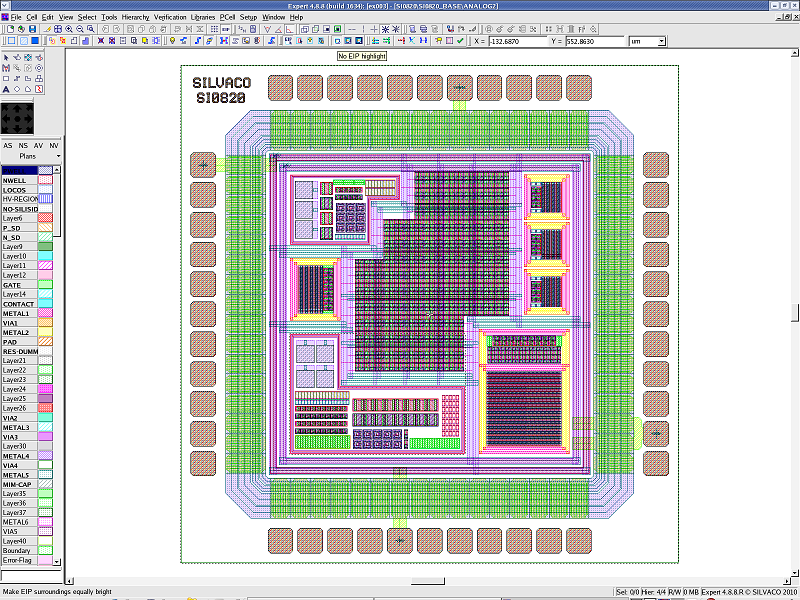
No difference in appearance of the edited cell instance and the rest (see eip_equalize.png ). - Dim
The surroundings are dimmed with respect to the edited cell (see eip_dim.png ). - Hide
Only the edited cell instance remains visible (see eip_hide.png ).


