Expert’s Netlist Driven Layout
Expert features a powerful Netlist Driven Layout (NDL) function to assist the user in creating a layout. It increases the productivity of layout design by automating cell generation and providing visual cues to assist in the wiring process. In this example, a latch circuit layout will be built based on developed child cells.
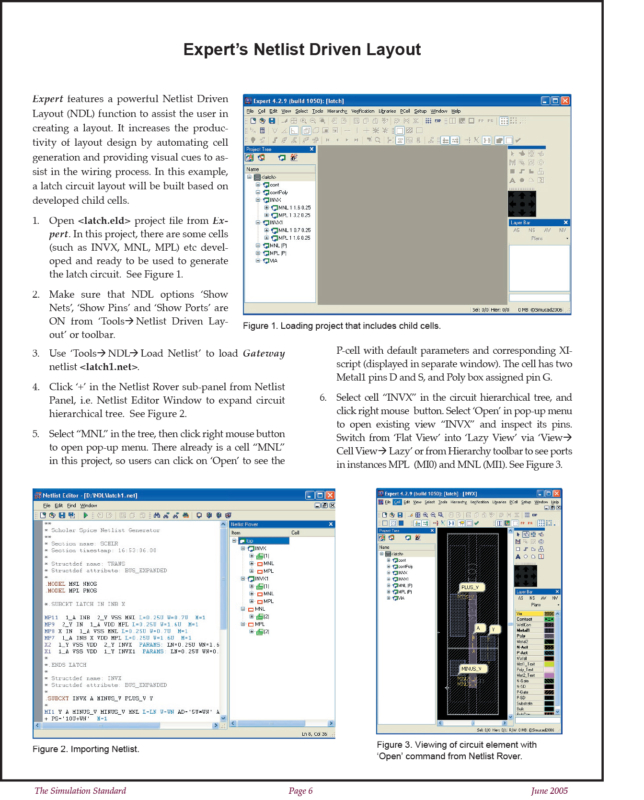
- Open <latch.eld> project file from Expert. In this project, there are some cells (such as INVX, MNL, MPL) etc developed and ready to be used to generate the latch circuit. See Figure 1.
- Make sure that NDL options ‘Show Nets’, ‘Show Pins’ and ‘Show Ports’ are ON from ‘Tools–>Netlist Driven Layout’ or toolbar.
- Use ‘Tools‡NDL‡Load Netlist’ to load Gateway netlist <latch1.net>.
- Click ‘+’ in the Netlist Rover sub-panel from Netlist Panel, i.e. Netlist Editor Window to expand circuit hierarchical tree. See Figure 2.
- Select “MNL” in the tree, then click right mouse button to open pop-up menu. There already is a cell “MNL” in this project, so users can click on ‘Open’ to see the P-cell with default parameters and corresponding XI-script (displayed in separate window). The cell has two Metal1 pins D and S, and Poly box assigned pin G.
- Select cell “INVX” in the circuit hierarchical tree, and click right mouse button. Select ‘Open’ in pop-up menu to open existing view “INVX” and inspect its pins. Switch from ‘Flat View’ into ‘Lazy View’ via ‘View‡ Cell View‡ Lazy’ or from Hierarchy toolbar to see ports in instances MPL (MI0) and MNL (MI1). See Figure 3.


