Hints, Tips and Solutions
Meshing a Non Axis Aligned SEU Beam
Q: I have an SEU beam in a 2D structure; the beam track is at an angle through the device. I don’t want to waste mesh by putting a fine mesh everywhere, is there anyway to mesh along the SEU beam track?
A: Yes, and it is quite simple to do using DevEdit’s robust feature rich meshing engine.
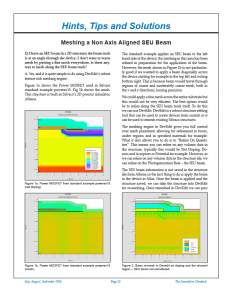
Figure 1a shows the Power MOSFET used in Silvaco standard example powerex15. Fig 1b shows the mesh. This structure is built in Silvaco’s 2D process simulator, Athena.
The standard example applies an SEU beam to the left hand side of the device; the meshing in this area has been refined in preparation for the application of the beam. However, the mesh shown in Figure 1b is not particularly good if we wanted to apply a beam diagonally across the device starting for example in the top left and exiting bottom right. This is because beam would travel through regions of coarse and moderately coarse mesh, both in the x and y directions, loosing precision.
We could apply a fine mesh across the entire substrate but this would not be very efficient. The best option would be to refine along the SEU beam track itself. To do this we can use DevEdit. DevEdit is a robust structure editing tool that can be used to create devices from scratch or it can be used to remesh existing Silvaco structures.
The meshing engine in DevEdit gives you full control over mesh placement, allowing for refinement in boxes, under regions and in specified materials for example. What it also allows you to do is to “Refine On Quantities”. This means you can refine on any volume data in the structure, typically this would be Net Doping, Donors and Acceptors or Potential for example. However, as we can refine on any volume data in the structure file, we can refine on the Photogeneration Rate – the SEU beam.


